July 16, 2018 -
I got an email a little while back from Whitby's and here is the car in blue with stripes before the clear coat went on. (The blue is called Indigo Ink.)
As of today the clear coat is on and the body is back on the car. Some minor things were fixed up (tire rubbing, fuel filter location, etc.) Next up will be a bit of a dynamic test. I've asked that they drive it a short while and make sure things feel alright, in particular the brakes! They'll do that and said they might be calling me to say it's done in about a week or so. Then I'll begin the registration and inspection adventure.
Tuesday, October 2, 2018
Wednesday, September 19, 2018
Title and Regsitration
September 19, 2018
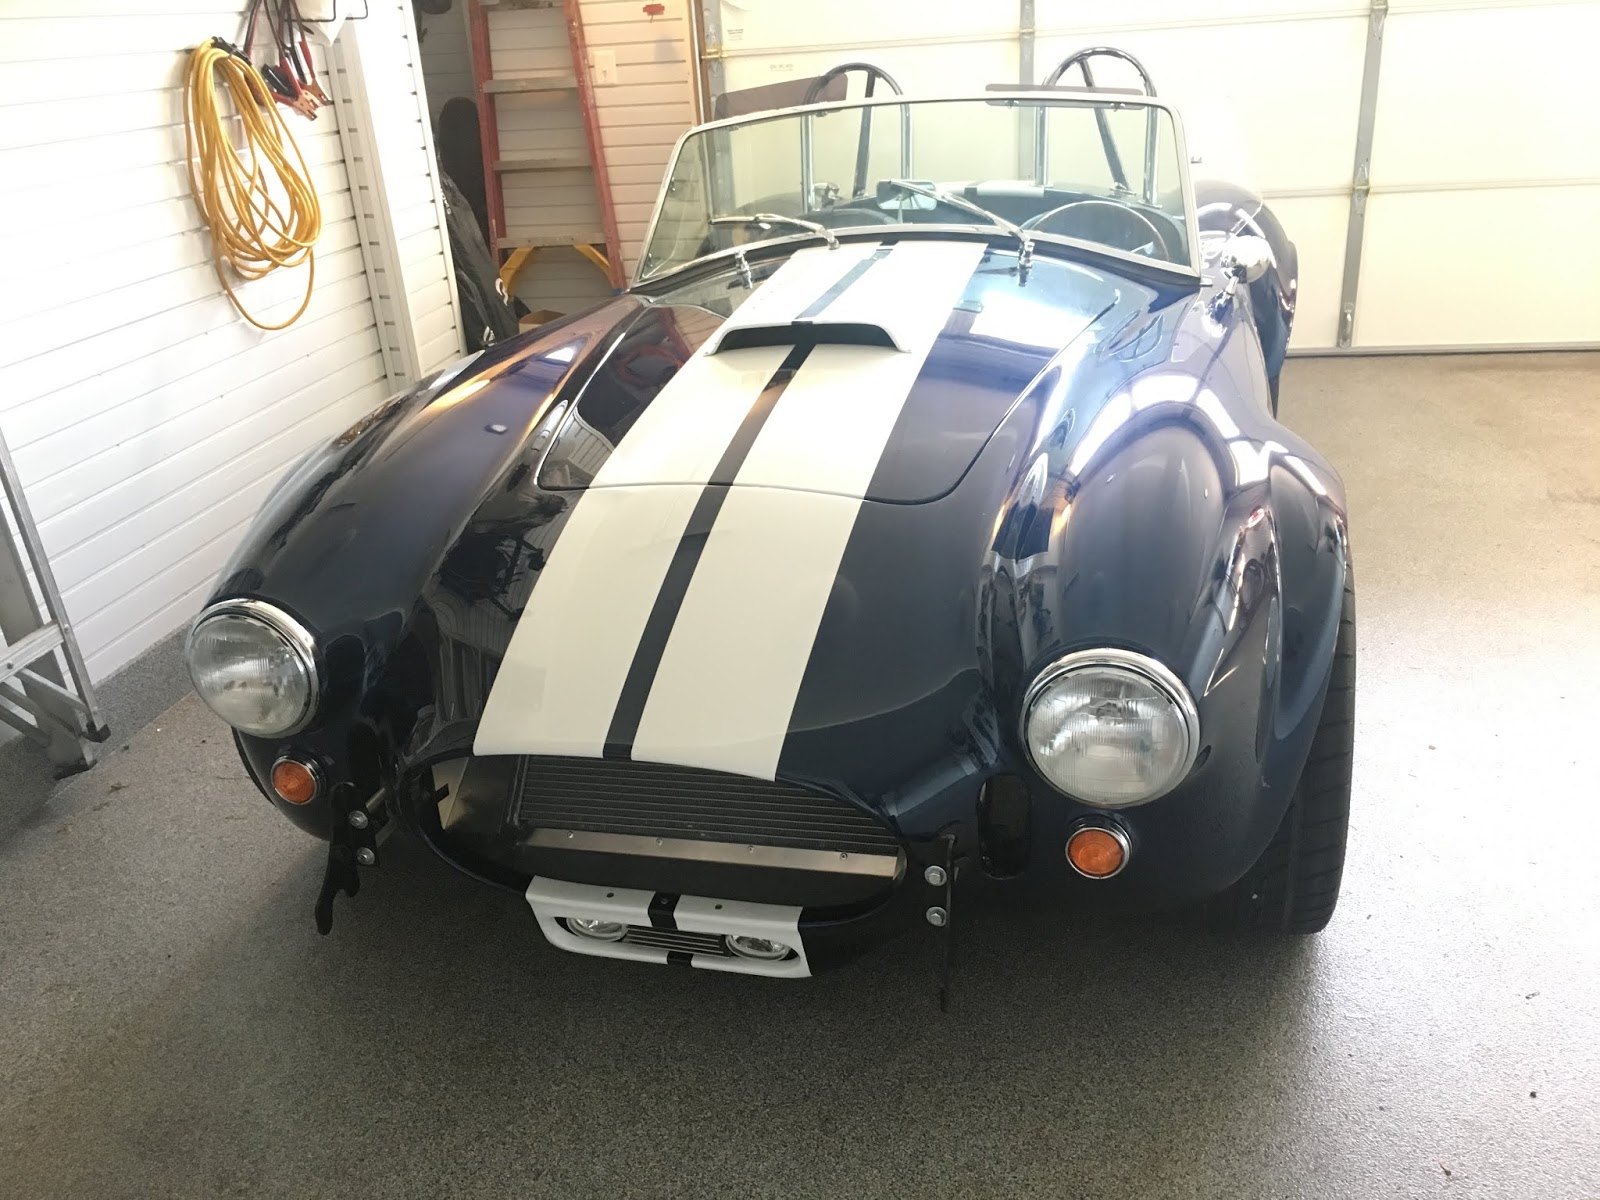
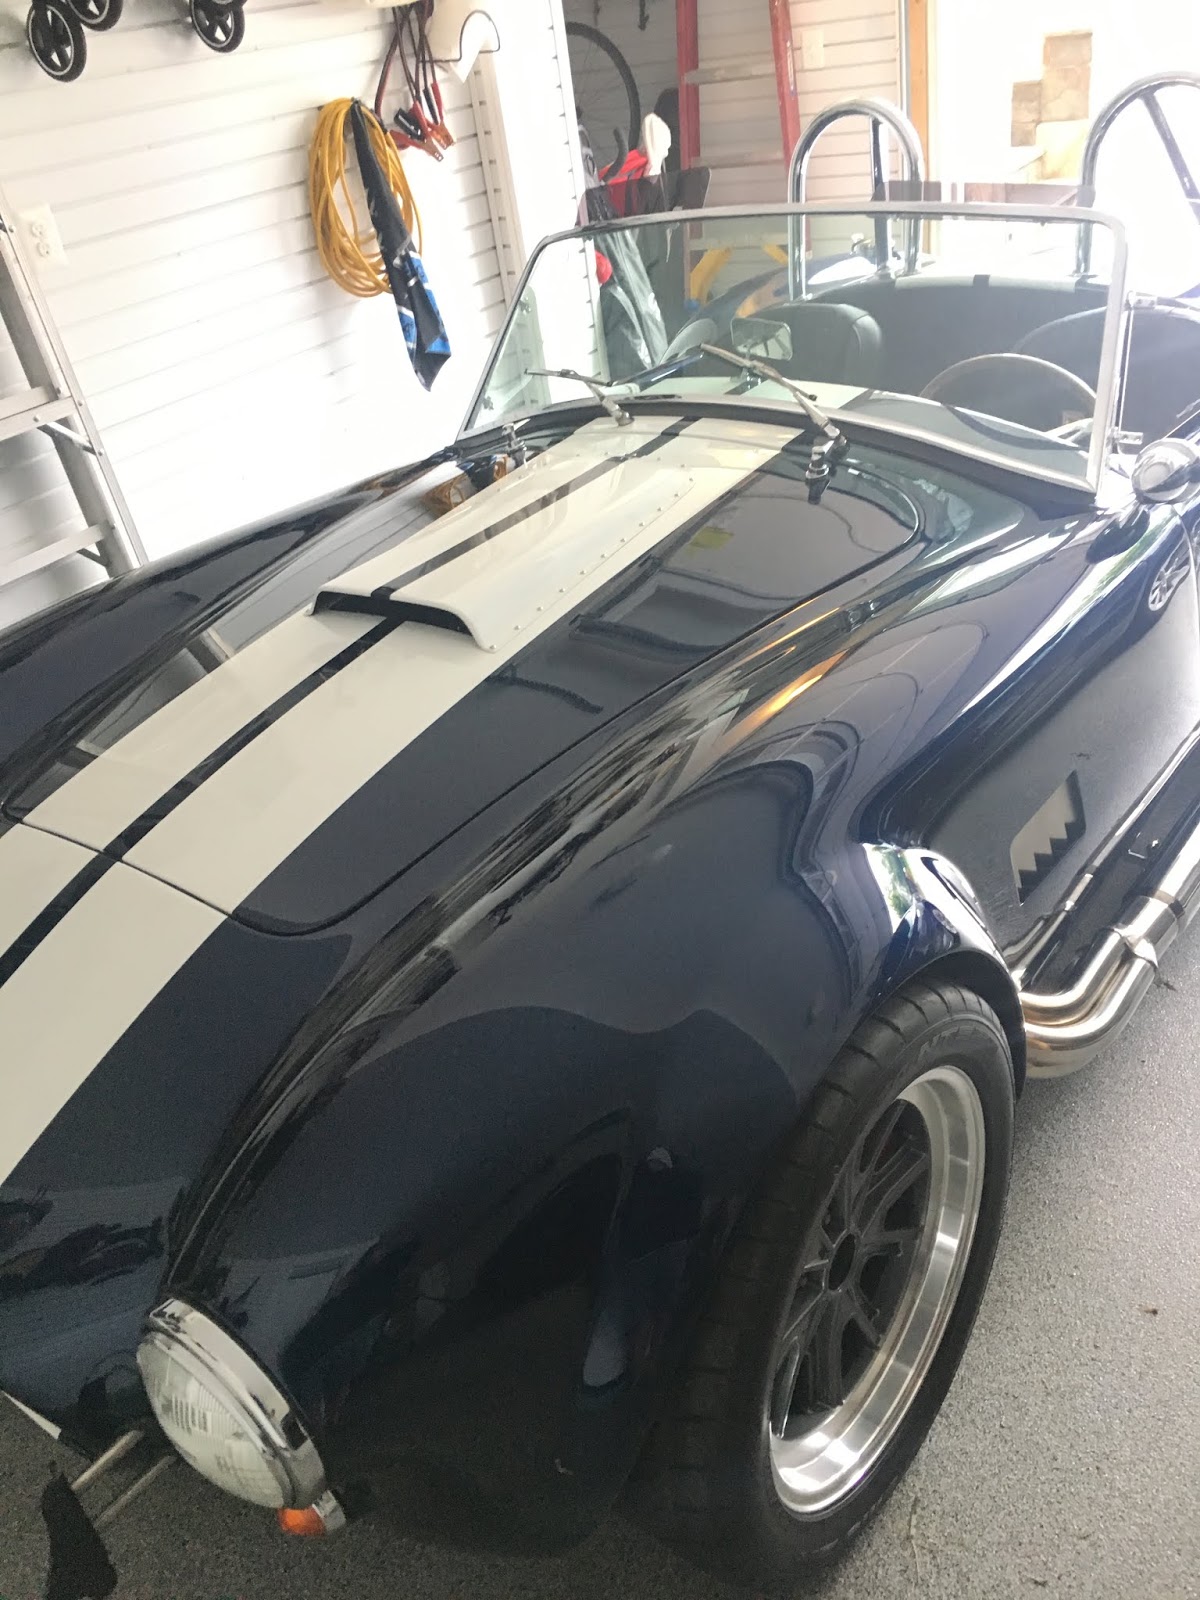
I mailed off my packet to the DMV today for a title and registration. It needed to include DMV forms 17A and 22 as well as a copy of my driver's license, the certificate of origin from the manufacturer (needed original so scan it first), invoices of the major parts, proof of address, and a check for the title and exam fee ($140) plus 4.15% tax on the price of the parts (take out freight charges.) I also had to include a document describing the construction with photos along the way and final photos of the front and side of the vehicle. This blog made that super easy! Here are the front and side photos I sent in. I think the blue is a little darker in person.
Friday, September 14, 2018
Touch Up
September 13, 2018 -
After the trip back there were a few things not working which required a couple hours of head scratching and fixing. There was a blue bulb burnt out in one of the fog lights. I replaced both blue bulbs with some blue LED Sylvania bulbs that are so much brighter, bluer and better all around. The man at the store also sold me a small packet of socket grease to prevent corosion. This may sound superfluous but I've had a socket in my old car corrode and get pretty nasty. These fog lights are right up front taking road spray so I thought why not for $1.68 try it. Next up were the brake lights not working. Fortunately this was a matter of positioning the button switch that rests against the brake pedal with a washer. Lastly and most confusing were the turn signals that weren't working. The number one culprit on turn signals is a busted flasher in the fuse panel and that was definitely not working. (The hazards worked and you can test flashers by swapping the two.) But the working flasher didn't make the turn signals work either. I did a lot of voltage probing to finally realize that unlike just about all the other lights, turn signals only work when the key is in the ON position (the one that makes the fuel pump run.) Turning the key the other way to the ACC position will make all the other lights work but for some reason not the turn signals. Once I tested the hazard flasher with the key in the ON position the turn signals worked so it was just a matter of buying a new flasher.
Pickup
September 6, 2018 -
Thank you to my sister Meredith and my dog Whiskey for making the trip down and back with me to pick up the car at Whitby Motorcars in Greensboro, NC. Here it is at Whitby's:
Pulling away...
Thank you to my sister Meredith and my dog Whiskey for making the trip down and back with me to pick up the car at Whitby Motorcars in Greensboro, NC. Here it is at Whitby's:
Here are a few pickup photos courtesy of Jeff at Whitby's. (I've started a diet, I promise!)
Pulling away...
And here it is in my garage!
Wednesday, September 5, 2018
Ready for Pickup!
September 5, 2018 -
Whitby Motorcars has told me my car is ready for pick up. My sister and I are driving down tomorrow to get it!
Friday, May 11, 2018
Sanding
May 11, 2018 -
It's been a while but I guess I wasn't in a hurry to get a roadster in the winter. Here are some April photos where you can see the primer up close having been sanded smooth. You might also remember there being mold seems that had to be filled in on the fiberglass body. So those seem spots are looking good now too.
Friday, March 9, 2018
Slicksand
November 21, 2017 -
This process has taken longer than I thought it would but the reasons are 1) there was a line of cars in front of me at Whitby's and 2) there are numerous coats of sanding, primer, sanding, more primer, etc. all before the numerous layers of paint go on and in between each layer are several weeks of curing. That's the only way Jeff at Whitby's says it'll come out great if great is what you want. I figure I'm not in a rush. They sent me this photo of my car's body in their paint room at the point of "slicksand."
Subscribe to:
Posts (Atom)