Friday, September 27, 2013

Passenger Panels

September 26, 2013 -

  Nothing too exciting new to show. I put in some of the floor panels for the passenger side of the cockpit.  This is in part to move the process along but also to get the panels out of the way of moving around the garage.  The truth is that the panels for the cockpit can be put in later than the manual states.  I will wait to do some as I think the extra access could be helpful when installing the transmission and drive axle.


Tuesday, September 17, 2013

Front Flexible Brake Line Mount

September 16, 2013 -

  I had to undo the front flexible brake line mount that I had previously done the way the manual states because the lines were touching the front tires when they turned completely.  I remounted them so the brake line comes in vertically and that took up a little more slack in the lines so they no longer touch the tire.  In order to do this I had to file out a corner from the rounded curve in the F-panels.  This might be because I have somewhat large tires on the front.  They are 17 inch 275 width Nitto's.  To fill the holes left by the previous mounting I put some silicone on a 3/16" rivet and riveted the holes.


Wednesday, September 11, 2013

Passenger Footbox and Wheel

September 10, 2013 -

  I siliconed and riveted up the passenger footbox:


  And here is a shot of the actual wheel:


Monday, September 9, 2013

Battery Box and Wheels

September 8, 2013 -

  I topped off the fluid in the IRS center section (rear differential) and then installed the new battery box I got from FF Metal. I had to trim about 1/4 of an inch off the support bar but otherwise it fit in great! It was also nice having a second hand around to hold it to line up all those pre-drilled holes. (Thanks Rachel!)

  Next I thought I would check the ride height by putting the wheels on. The frame rail by the doors are 9 inches off the ground but the large frame tubes dip a little lower and I would imagine this all lowers some with the engine and transmission installed.  I also think the fiber glass body will wrap down below the frame a little getting still closer to the ground.  Wheels on made for nice pictures below but also let me check for flexible brake line rubbing / interference in turning the wheels which is something I'm going to have to think about.  I found that so far, turning the wheels on the ground without power steering is easy.


  For some perspective on how low and small this car is, I put myself in one shot. I'm no giant...


Thursday, September 5, 2013

Brakes

September 5, 2013 -

  It has been a while since I posted but a few things have been done. I got the front and rear flexible brake lines attached.  Pictured below is the rear:

 
  Next up were the brake reservoirs.  I have two and would advise anyone doing this project to spend the extra money for the second.  Having two will keep the front and rear brake line systems completely separate so that if a line were to leak and brakes go out (front for example), you should have the other (rear) still functional.  I deviated from the manual on placing the reservoirs for a few reasons. The manual puts the one reservoir on the driver's front foot box panel.  That was a crowded area.  The second reservoir would have had to go too far outboard and would be left under the body, making a tough compromise between being low enough to get the cap off and high enough to make sure the fluid flowed down to the master cylinder. So here they are on the nice thick firewall I got from FF Metal.


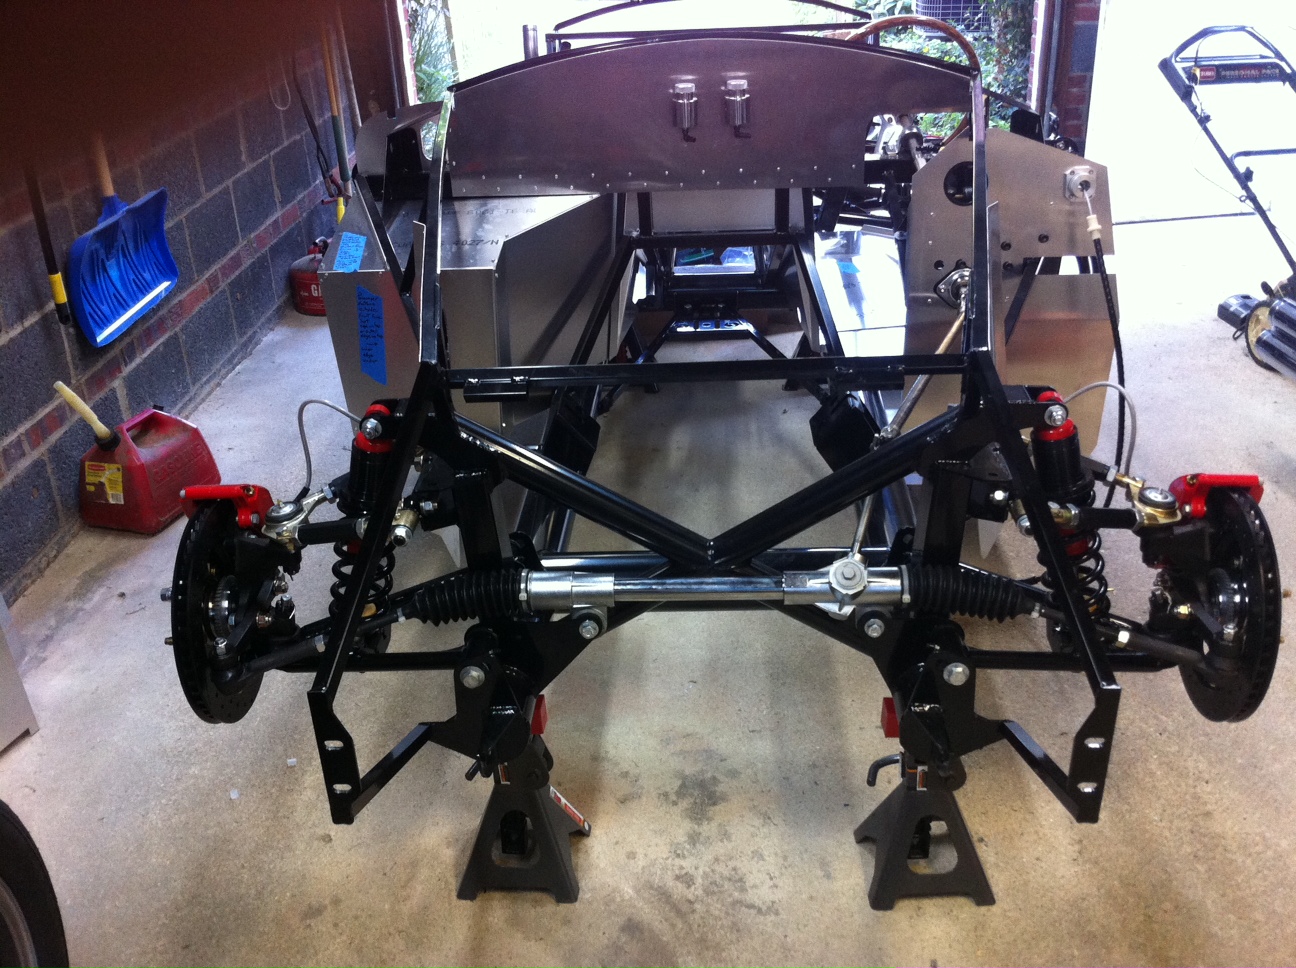
  Lastly, I thought my front wheels (rotors) were toe'd outward too much. The only way to really fix that was to take off the steering tie rod and screw it in further.  This is a little time consuming but gave me the chance to access the grease nipple on the tie rod end to put grease in there which I didn't do before initially installing.  Tip for getting the tie rod off- loosen the bracket it attaches to from the spindle, then use both a hammer and a rubber mallet by hitting the bolt downward with the mallet and the bracket upward with the hammer simultaneously.  It sounds crazy but if you do them both at the same time you really don't have to hit either one that hard. In this picture you can also see I temporarily mounted the steering wheel to check that the front flexible brake lines didn't get in the way of steering or suspension when turning the wheels lock to lock.