July 11, 2013 -
Put in the upper control arm (UCA) and shock absorber. The big thing I have learned so far is if you are having trouble stop and search the forum on ffcars.com as people before you have probably already dealt with whatever it is. The other things I learned:
- The frame gets in the way of getting a wrench or socket on the aft nut for the UCA mounting. You'll need to rubber mallet a flat head screwdriver so that it is wedged between the nut and the frame to hold the nut in place. I thought it best to have the nut turn into the upper/wider part of the screwdriver.
- The spacers for the lower shock mounting are too big to fit in there. You'll need to file them down. Keep filing until it isn't that hard, otherwise you'll try and mallet it all together and that will make your life more difficult than it needs to be.
- Make sure you use the longer bolts for the top shock mount and the shorter ones for the lower shock mount. I don't know why the manual doesn't state that. Once you put the long one in the bottom you'll think it looks funny and when you put the short one in the top you'll know it's too short and you screwed up.
- Lastly, what I *didn't* learn was how you are supposed to fit or adjust the UCA adjustment bars. I sort of eye balled it to middle of the road and am assuming later on I'll see how I need to change it. I tightened things down just a little and it all looks accessible for later adjustment.
Thursday, July 11, 2013
Wednesday, July 10, 2013
Lower Control Arm and F Panel
July 9, 2013 -
I put in the lower control arms on the front suspension and siliconed and riveted the F panels today. Things I learned: the pneumatic riveter is awesome but make sure you put the right size nose piece in for the rivet size you are using. Acetone is powerful stuff and will remove ink on the F panel like it was just dust. I also learned you can use both washers on the rear half of the lower control arms to take up the extra spacing but it worked best to slide them in together. (A light touch of grease and some gentle love from a plastic dead blow hammer didn't hurt either.) I had to buy a 6 point half inch drive 21mm socket for the bolt heat and a 15/16 inch wrench for the nut. They get you on buying these individually. The most fun part of putting in the lower control arms was getting to use the big torque wrench!
Monday, July 8, 2013
Delivery
July 7, 2013 -
Got the big delivery today. Here's the body and frame coming off the Stewart truck:
And here are some (not all!) of the 20-some boxes of parts. I got through just about all of them that day.
Got the big delivery today. Here's the body and frame coming off the Stewart truck:
And here are some (not all!) of the 20-some boxes of parts. I got through just about all of them that day.
Sunday, July 7, 2013
Body Buck
July 5, 2013 -
Mostly finished body buck to hold the fiberglass body while I'm working on the rest of the car. Thanks to Jeff for the use of the jigsaw to make the curved cuts in the plywood.
Monday, June 24, 2013
Garage Lighting
June 24, 2013 -
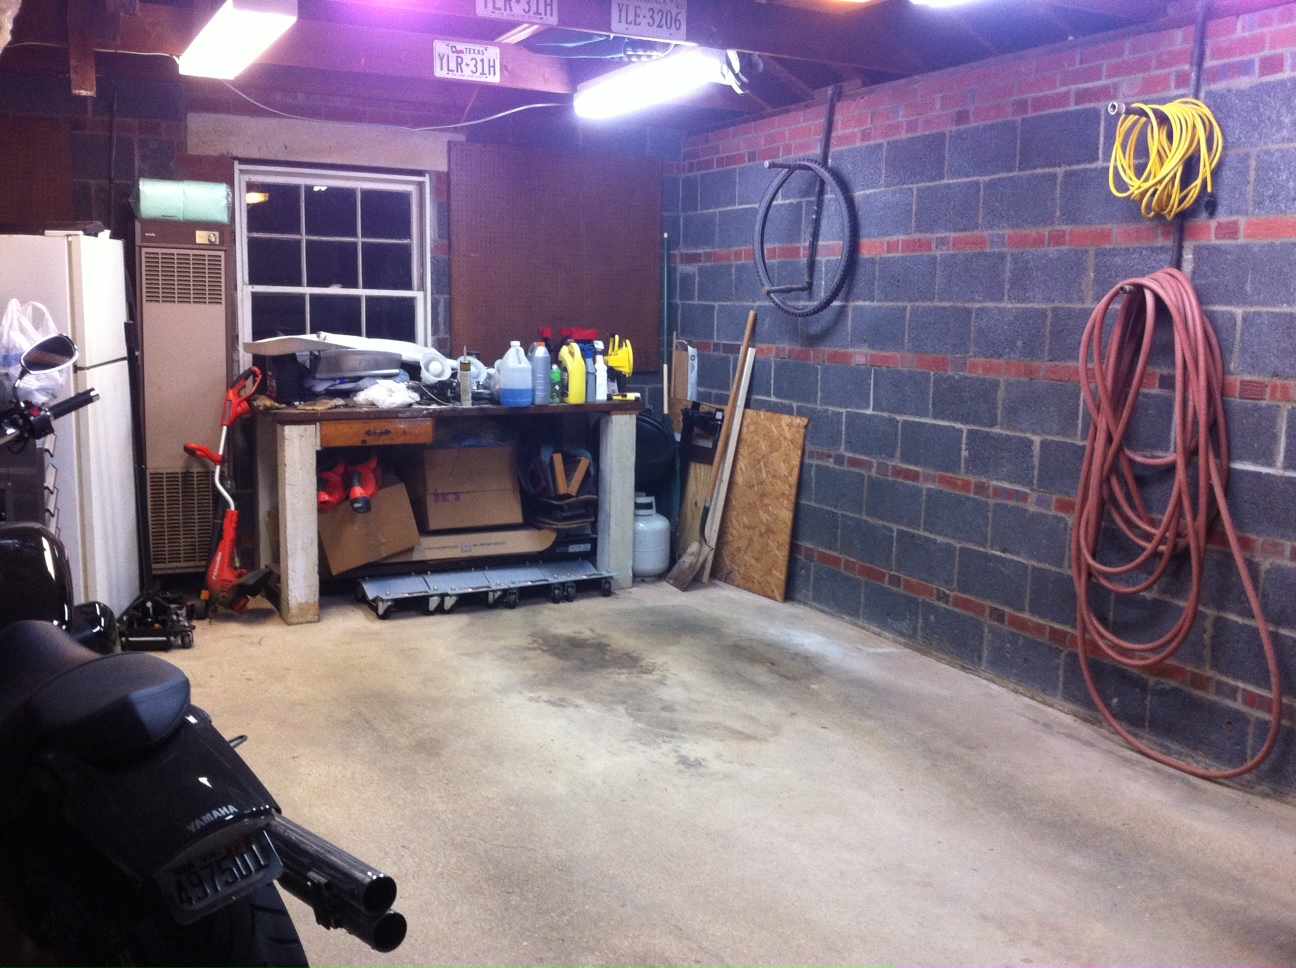
Here is my garage at night with pretty much no light. This would be tough to get any work done after the sunlight begins to fade.
Now it has 4 four foot tube lights installed. (Thanks for the help Dave.)
Monday, June 10, 2013
Notes from Mott College Build School Class
June 9, 2013 -
Notes from The Mott College Build School. (Which I highly recommend for anyone doing, or thinking of doing a build.)
Day 1:
Explosion proof bell housing
Virginia need catalytic converter?
Painters tape for protecting surfaces from all the labeling.
Short double sided drill but 1/8" (will need lots of these for riveting holes.)
Front suspension: score rubber bushing so grease flows out over it.
Spindle hub nut needs high torque- rent tool or alignment shop can do, or buy it.
Rear end: needs slip additive
IRS solid front mount instead of rubber mount
Rear alignment before trunk panels and body go on.
Front rough alignment 1/4" gap at top of tire to right angle ruler on ground against bottom of tire.
3 2x4s stacked will check 4.5" ride height.
Pedal bracket - trim interior corner so brake pedal doesn't catch.
Buy second brake reservoir.
Hydraulic clutch good upgrade.
Russ Thompson accelerator pedal?
Get cleko and sawzall (or borrow a friend's?)
Undercoat body, mostly wheel wells.
Day 2:
Flare nut wrench for brake line nuts.
Run brake lines outside side of frame up high off grounding hazard.
Front brake line - flex part mounted vertical and goes across frame x member.
To bleed brake lines need tube into bottle.
Double flaring tool set.
Tubing cutter- Ridgid
Spats made by 3M cover rear wheel well from rocks flying up from front tire.
Before lowering engine in get motor mounts on and transmission support/mount on and metal transmission bracket on frame.
Breeze or finishline shroud for radiator?
Brake lights- may want to have connector for each light. Headlights too. 3 prong Weather Pack connectors
Make an extra ground for rear and maybe for front ?
Need open barrel crimper for electrical connectors.
Check that accelerator pedal can't stick and get stuck open. May need to trim off top end of pedal arm.
For grounding to frame scratch off some powder coat since that is an insulator.
Clutch cable- ford Motorsport cable is much less pedal effort.
Aluminum panels- foot boxes and bottom of firewall before engine.
Cockpit after transmission, clutch cable.
Rear cockpit large panel goes in first then small pieces at the back of the transmission tunnel.
Cobra earl makes dropped trunk mod.
Rivet in small rear trunk panel from outside before larger outside panel.
Battery hook up positive first.
Undercoat body before paint especially wheel wells. Rocks will come up.
Paint job will likely take several weeks or months. Can do carpeting while waiting.
E-brake cable runs above rear end through bracket and then under 4" frame tube to take up slack and come in low enough for handle. Donor handle is better with spring since adjustments on kit handle need the
cables disconnected.
Use a roller pin to get out bubbles on dash material right after glueing. Also mark a panel outline on the back of the dash cover material before you lay the panel on the glued material.
Don't make pie cuts too close to dash metal.
Screw top of dash after paint is done to line up screws with with stripes.
Gauge holes- more pie slices will reduce dimples on front.
Wire together fan switch wires in harness to let engine control cooling fan. (These wires let you turn the fan off, bad idea.)
Seat belts- extra washer keeps moving belt from rubbing powder coat.
Bolts and nuts for trunk latch assembly.
Rear body install- lay paper over bulb seal so body doesn't tear bulb seal when installing the body.
Add roll bar grommets to order.
Windshield- might need to sand a little off the small side screws' end if it bottoms out.
Drill windshield feet with a step bit. Looks like a Christmas tree.
Might want to trim wind shield legs as they stick down into footbox.
To protect radiator make a screen with Velcro attachments in front of radiator.
Industrial Velcro can also be used for side vents. That lets them be removable for access to windshield base.
When the floor jack is lifting the front, come at and angle so the bottom of the body nose doesn't come down on the jack
.
Notes from The Mott College Build School. (Which I highly recommend for anyone doing, or thinking of doing a build.)
Day 1:
Explosion proof bell housing
Virginia need catalytic converter?
Painters tape for protecting surfaces from all the labeling.
Short double sided drill but 1/8" (will need lots of these for riveting holes.)
Front suspension: score rubber bushing so grease flows out over it.
Spindle hub nut needs high torque- rent tool or alignment shop can do, or buy it.
Rear end: needs slip additive
IRS solid front mount instead of rubber mount
Rear alignment before trunk panels and body go on.
Front rough alignment 1/4" gap at top of tire to right angle ruler on ground against bottom of tire.
3 2x4s stacked will check 4.5" ride height.
Pedal bracket - trim interior corner so brake pedal doesn't catch.
Buy second brake reservoir.
Hydraulic clutch good upgrade.
Russ Thompson accelerator pedal?
Get cleko and sawzall (or borrow a friend's?)
Undercoat body, mostly wheel wells.
Day 2:
Flare nut wrench for brake line nuts.
Run brake lines outside side of frame up high off grounding hazard.
Front brake line - flex part mounted vertical and goes across frame x member.
To bleed brake lines need tube into bottle.
Double flaring tool set.
Tubing cutter- Ridgid
Spats made by 3M cover rear wheel well from rocks flying up from front tire.
Before lowering engine in get motor mounts on and transmission support/mount on and metal transmission bracket on frame.
Breeze or finishline shroud for radiator?
Brake lights- may want to have connector for each light. Headlights too. 3 prong Weather Pack connectors
Make an extra ground for rear and maybe for front ?
Need open barrel crimper for electrical connectors.
Check that accelerator pedal can't stick and get stuck open. May need to trim off top end of pedal arm.
For grounding to frame scratch off some powder coat since that is an insulator.
Clutch cable- ford Motorsport cable is much less pedal effort.
Aluminum panels- foot boxes and bottom of firewall before engine.
Cockpit after transmission, clutch cable.
Rear cockpit large panel goes in first then small pieces at the back of the transmission tunnel.
Cobra earl makes dropped trunk mod.
Rivet in small rear trunk panel from outside before larger outside panel.
Battery hook up positive first.
Day 3:
Paint job will likely take several weeks or months. Can do carpeting while waiting.
E-brake cable runs above rear end through bracket and then under 4" frame tube to take up slack and come in low enough for handle. Donor handle is better with spring since adjustments on kit handle need the
cables disconnected.
Use a roller pin to get out bubbles on dash material right after glueing. Also mark a panel outline on the back of the dash cover material before you lay the panel on the glued material.
Don't make pie cuts too close to dash metal.
Screw top of dash after paint is done to line up screws with with stripes.
Gauge holes- more pie slices will reduce dimples on front.
Wire together fan switch wires in harness to let engine control cooling fan. (These wires let you turn the fan off, bad idea.)
Seat belts- extra washer keeps moving belt from rubbing powder coat.
Bolts and nuts for trunk latch assembly.
Rear body install- lay paper over bulb seal so body doesn't tear bulb seal when installing the body.
Add roll bar grommets to order.
Windshield- might need to sand a little off the small side screws' end if it bottoms out.
Drill windshield feet with a step bit. Looks like a Christmas tree.
Might want to trim wind shield legs as they stick down into footbox.
To protect radiator make a screen with Velcro attachments in front of radiator.
Industrial Velcro can also be used for side vents. That lets them be removable for access to windshield base.
When the floor jack is lifting the front, come at and angle so the bottom of the body nose doesn't come down on the jack
.
Subscribe to:
Posts (Atom)